Is Your Website Showing “Not Secure”? Here’s How to Fix It Fast
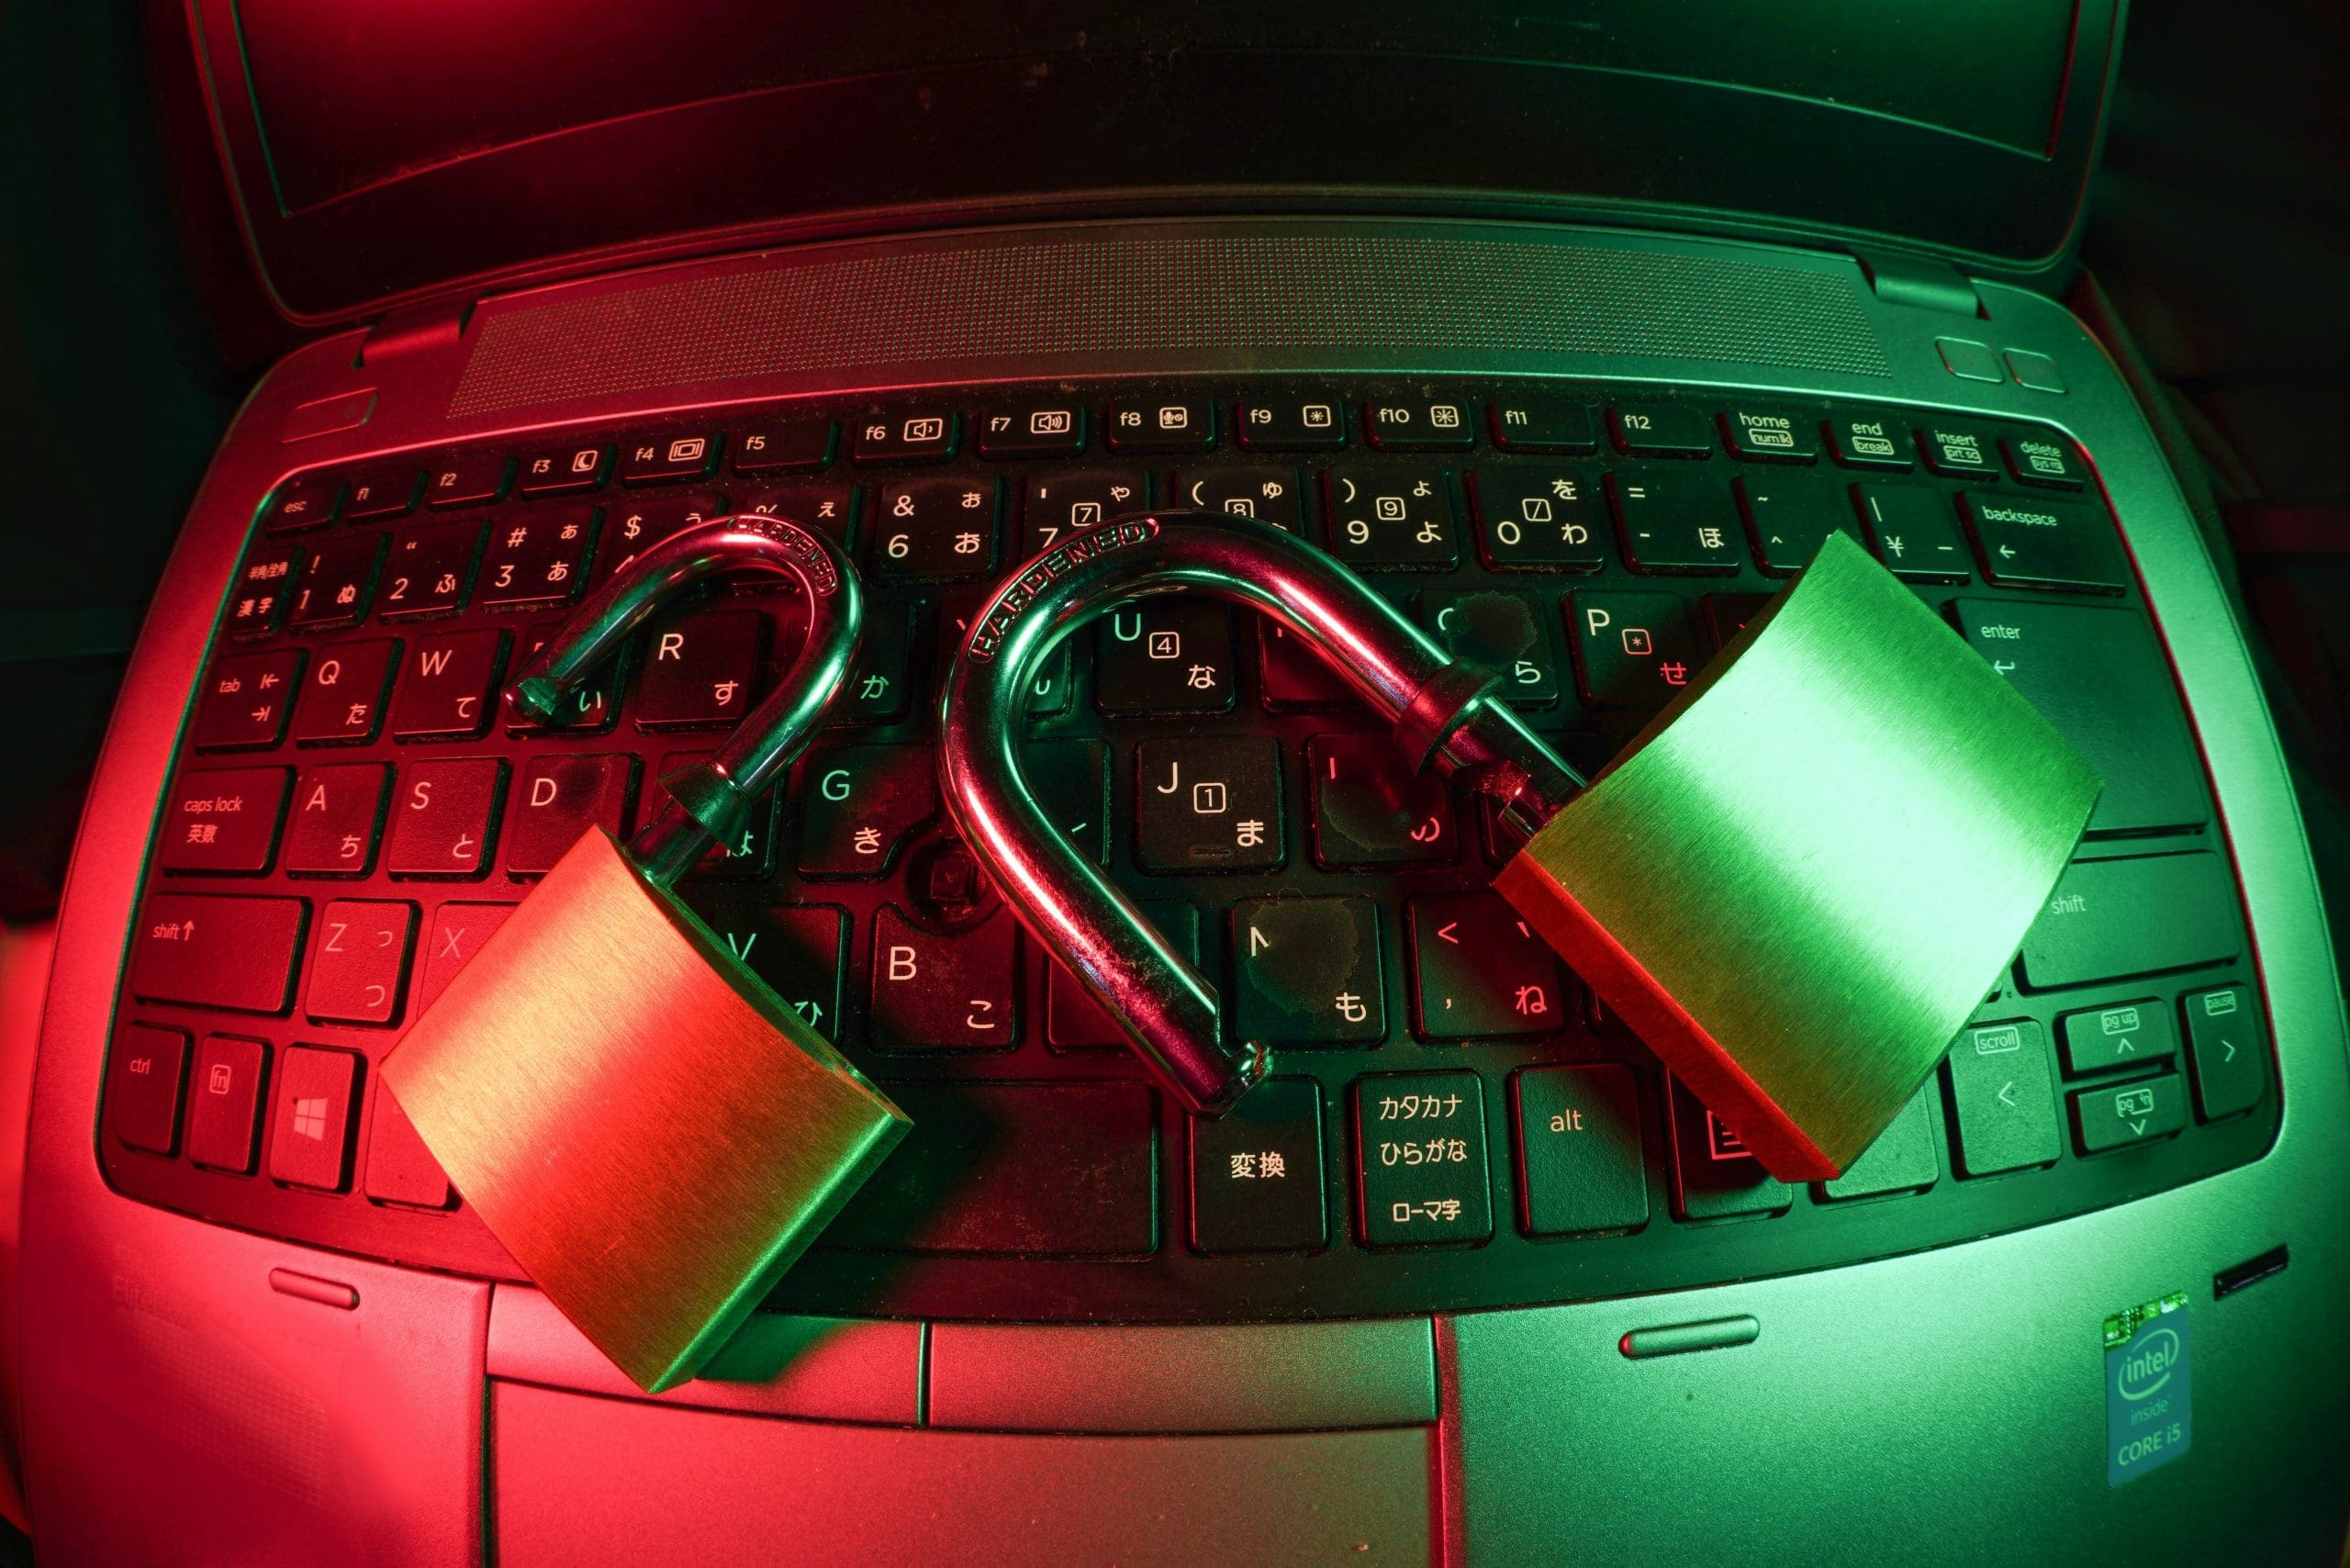
What Does “Not Secure” Really Mean?
That warning shows up when your site doesn’t have an SSL certificate. SSL (Secure Sockets Layer) encrypts the data between your site and your visitors. It makes your site use HTTPS instead of plain old HTTP.
Google and other browsers now require HTTPS. Without it, your site shows that scary “Not Secure” label in big letters. And people leave when they see it.
Top 4 Reasons Your Site Isn’t Secure
- No SSL Certificate: Your site isn’t encrypted. That’s a red flag for browsers and your users.
- Expired or Invalid SSL: You had SSL, but it’s outdated or misconfigured.
- Mixed Content: Some parts of your site still use insecure HTTP links.
- Wrong WordPress Settings: Your site URL is still set to HTTP in WordPress.
How to Fix the “Not Secure” Warning Step-by-Step
Need this done quickly? Contact us. We handle SSL setups, HTTPS redirects, and mixed content cleanups for website owners like you.
Step 1: Get an SSL Certificate
Most modern web hosts offer free SSL certificates with their plans. If your host doesn’t, use Let’s Encrypt to get one for free!
We recommend choosing a hosting provider that offers one-click SSL activation. Don’t want to deal with it? Let our team install your SSL certificate for you—fast and hassle-free.
Step 2: Update WordPress URLs
Go to your WordPress dashboard:
- Click Settings.
- Select General.
- Change both the “Site Address” and “WordPress Address” to use
https://. - Save your changes.
Step 3: Fix Mixed Content Issues
If parts of your site still load over HTTP, browsers will still show warnings. Images, stylesheets, and scripts may be calling old HTTP links.
We use the Search & Replace Everything plugin to clean this up quickly.
- Install and activate the plugin.
- Search for
http://and replace it withhttps://. - Select all database tables.
- Preview the changes.
- Confirm and run the replace.
Need help fixing your URLs? We offer affordable SSL cleanup services for WordPress sites.
Step 4: Set Up an HTTPS Redirect
To make sure everyone ends up on the secure version of your site, you need a redirect.
Add this to your .htaccess file if you’re using Apache:
RewriteEngine On
RewriteCond %{HTTPS} !=on
RewriteRule ^(.*)$ https://%{HTTP_HOST}%{REQUEST_URI} [L,R=301]
Using Nginx? You’ll need to add a redirect rule in your config file:
server {
    listen 80;
    server_name yoursite.com www.yoursite.com;
    return 301 https://yoursite.com$request_uri;
}
Not sure where to place that? Reach out—we’ll configure it for you.
Step 5: Test Your SSL Setup
Now, visit your website. Do you see the padlock icon next to your URL? Great! Still seeing a warning?
Try these tools:
- SSL Labs Test — checks your SSL configuration.
- Why No Padlock? — tells you what’s still insecure on your page.
Also try opening your site in a private/incognito tab. If issues remain, book a quick SSL audit with us.
Protect Your Site. Earn Visitor Trust.
Insecure websites don’t just look bad. They damage your brand, rank lower in search engines, and drive away potential leads. Don’t let that happen to you.
Let’s help you switch to HTTPS the right way—clean, fast, and professional.
💡 Ready to fix your SSL issues for good? Request a free quote or contact our team to get started today.