How to Build a Wedding Website with WordPress
Planning your big day? A wedding website is the perfect way to share all your details, collect RSVPs, and keep guests in the loop. And the best part? You can do it yourself—with WordPress.
In this guide, we’ll show you how to create a beautiful, easy-to-use wedding site—even if you’re not a tech expert. We’ll keep things simple, clear, and efficient. If you get stuck or want it done for you, our team can help.
Why Choose WordPress for Your Wedding Website?
WordPress is flexible, budget-friendly, and ideal for building a wedding site you’ll be proud to share. Here’s why:
- No Coding Needed: Easy drag-and-drop tools
- Free Themes: Choose looks that match your wedding style
- Plugins: Add features like RSVP forms and image galleries
- Control: Fully customize your layout, content, and guests-only pages
Need help setting up? Explore our wedding website design services.
How to Build a Wedding Website with WordPress
Follow these steps to get your wedding site live in a few hours—not weeks.
Step 1: Choose Your Website Builder
We recommend managed WordPress hosting. It’s open-source and free, which means you get full control and endless options.
Join over 40% of internet users who build their sites with WordPress. You get:
- Over 59,000 plugins
- Thousands of themes
- Scalability for guest lists big or small
Step 2: Get Hosting and Domain
You need two things to make your site live:
- A domain name: Try FirstNameAndFirstNameWedding.com
- Hosting plan: A place to store your web files
We recommend a WordPress-optimized host for speed and uptime.
Step 3: Install WordPress
Most hosts offer one-click WordPress installs. If not, we can install it for you.
After installation, log in to your dashboard at yourdomain.com/wp-admin.
Step 4: Pick a Wedding Theme
Choose a theme that reflects your personal style. Look for:
- Mobile-friendly layout
- Easy homepage edits
- Photo and RSVP features built in
Need help choosing? Contact us today to help you.

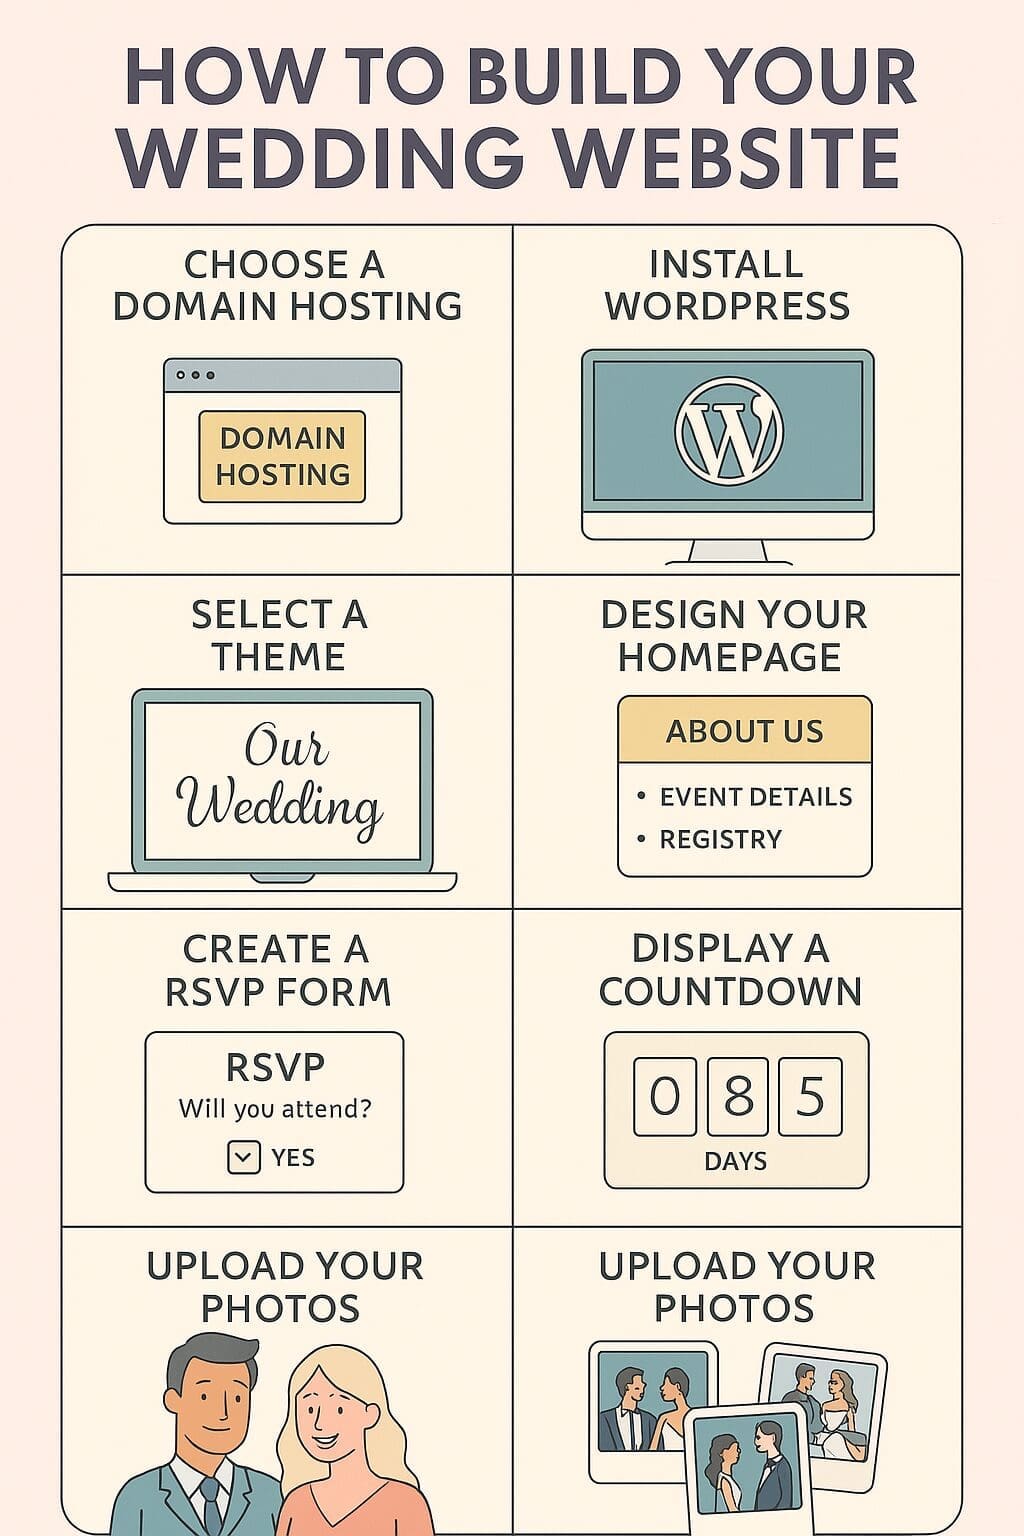
A quick infographic to help you remember how to make a WordPress wedding website.
Step 5: Design Your Homepage
This is the first thing your guests will see. Add:
- Your love story
- Date and location
- Featured photo
- A countdown to the big day
Use Gutenberg or a page builder like SeedProd for a drag-and-drop experience.
Want to Skip the Setup? Let Us Build It for You
We create custom WordPress wedding websites tailored to your event. From love stories to RSVP forms, we handle it all.
Step 6: Add Essential Pages
- About Us: Your story
- Event Details: Schedule and venue info
- Gift Registry: Optional but helpful
- RSVP Page: Use a form plugin like WPForms
Need help crafting these pages?
Step 7: Add a Google Map
Make it easy for guests to find your wedding venue. Embed a Google Map plugin with the full address.
Step 8: Create an RSVP Form
Use a plugin like WPForms to gather guest responses automatically.
- Track who’s attending
- Manage meal selections
- Avoid phone calls and paper RSVP cards
Step 9: Add a Countdown Timer
Build excitement by showing how many days are left until you say “I do.” Tools like SeedProd make it simple.
Step 10: Share Your Website
- Print the URL or a QR code on invitations
- Email it to guests
- Share on social media
Need a scannable QR code? We can generate one for you.
Step 11: Upload Wedding Photos
After your big day, wow your guests with a gallery of your best memories. Use a responsive plugin like Envira Gallery.
Need a Hand?
Skip the stress and focus on your special day. We design wedding websites that reflect you—beautiful, secure, and easy to use.
Start your custom site today or learn more about our services.
Planning your wedding should be joyful—not technical. Let us help you bring your story online, stylishly and stress-free.


